Ah, spring break. For kids, it’s about freedom, fun, and sunshine. For parents, it often means planning a vacation, scrambling for a baby sitter, or trying to come up with projects to ward off our kids’ cries of “I’m bored!”
No longer.
We decided to make it easier to keep the kids entertained this spring break with a roundup of awesome crafts designed to be engaging, fun, and customizable to your kids’ inner creative genius. Most of these projects are easy to create with materials your likely have around the house and to keep your kids learning and experimenting.
1. Paper Beads

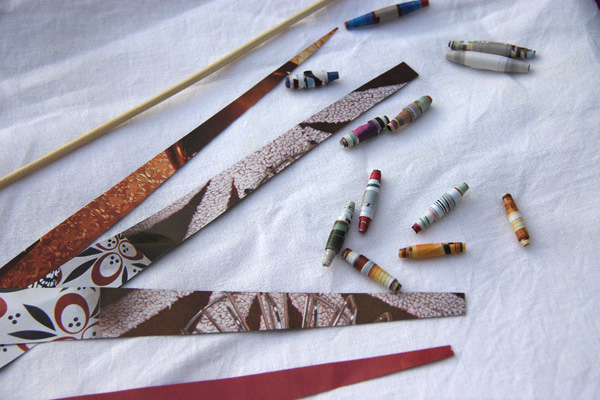
This craft only requires a few basic supplies: scissors, paper, glue, a skewer, and a ruler. This tutorial uses newspaper, but you could jazz up your beads with paint, or use magazines, wrapping paper, construction paper, or even wall paper samples to make super colorful beads.
Paper beads are an ideal project for spring break because you can let the kids get creative and use the beads in crafts later in the week. Plus, it won’t create much of a mess. I call that a win!
Instructions
- Use your ruler and pencil to draw lines on your paper before you cut. Keep in mind, the width and length of your strip will determine the shape of your beads. Wide, short strips will create long, thin beads. Narrow, long strips will create shorter, rounder beads. Play around with sizes until you find what works for the type of beads you want to make. (I found strips half an inch wide and a foot or so long, cut to a tapered point made nice, round beads)
- Once you find a strip size you like, cut all your paper into strips.
- Start wrapping the widest end of your strip around your skewer. I suggest stopping to dab just a touch of glue one or twice while wrapping.
- Dab glue on the last bit of paper.
- Allow glue to dry, then slide off your skewer (Paint before removing from skewer!).
That is it! This is a pretty easy project, and I love that it lets the kids get creative and explore with sizes and shapes of beads. Paper beads are also an ideal project for spring break because you can let the kids get creative and use the beads in crafts later in the week. Plus, it won’t create much of a mess. I call that a win!
2. Homemade Play Dough

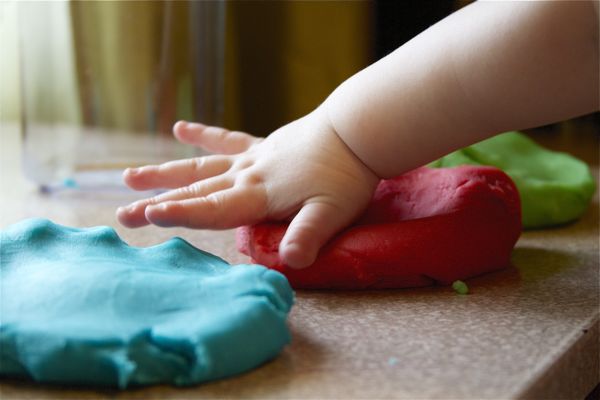
This one can definitely get messy, but it’s a good project to fill those empty spring break hours. First, you make it then you get hours of play time. (Hopefully.) But, most recipes require cooking, which can be decidedly un-kid friendly.
This no cook recipe uses boiling water, flour, vegetable oil, salt, food coloring, and cream of tartar. (Obviously you’ll have to be careful with the boiling water, but it is better than cooking.) It is pretty simple to make, and I love their idea of adding glitter to the play dough. Afterwards, you can store it in a sealed container and break it out whenever the mood strikes.
Ingredients
- Large mixing bowl
- 2 cups all purpose flour
- 2 tablespoons vegetable oil
- 2 tablespoons cream of tartar
- 1.5 cups boiling water (added slowly)
- Food coloring
- A few drops of glycerin (totally optional, it will add shine)
- Fine glitter (also optional)
Instructions
- Mix together the flour, salt, cream of tartar, and oil in a large mixing bowl
- Add food coloring TO the boiling water then into the dry ingredients
- Stir continuously until it becomes a sticky, combined dough
- Add the glycerin and glitter (optional)
- Allow mixture to cool, then remove from bowl and knead vigorously for a couple of minutes until all of the stickiness has gone.
Note: Kneading is most important part of the process, so keep going until it is just right! If your dough is too sticky, add a touch more flour, if it is dry return to bowl and splash more boiling water into your mixture.
To keep the kids entertained all afternoon, try these great ideas for playing with play dough, like creating mosaic paintings or making prints.
3. Potato Light

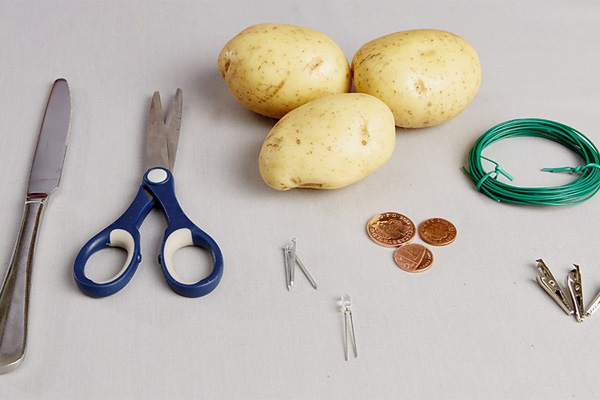
This one is a lot of fun, and your kids won’t even notice they are learning. This project does require supplies you might not have at home but science experiments are awesome, so we included it any ways. You will need a potato, two pennies, two zinc-plated nails, some copper wire, and an LED light.
Instructions
- Cut the potato in half, then cut a small slit into each half, large enough to slide a penny inside.
- Wrap a bit of copper wire around each penny a few times. Each penny should use a different wire.
- Slide your copper wire-wrapped pennies into the slits in the potato halves.
- Wrap copper wire around each of the zinc-plated nails, leaving a slight tail.
- Stick one nail in each half of the potato.
- Connect the two loose ends of the copper wires to the bottom of your light bulb, and it will light up!
Or, you can skip the trip to the hardware store and buy a kit.