3. Test the soil.

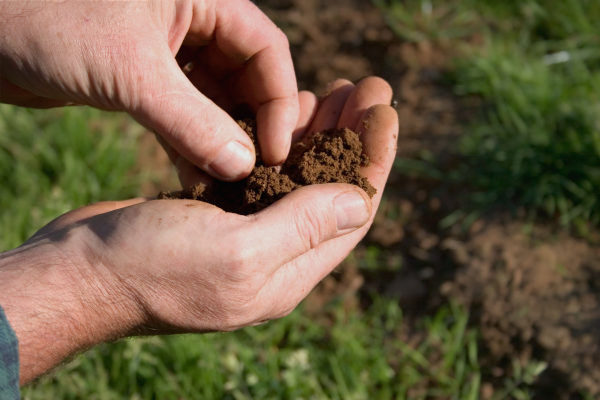
This goes along with the last step, but once you have picked out a location you should test its soil. Most plants do best in soil that is moist, well-drained, and rich with organic matter. You can test the soil’s ability to drain water by digging a hole that is one foot wide and one foot deep. Fill the hole with water, record how long it takes the water to drain, then a few hours after its emptied repeat the process.
You can calculate the rate of drainage by dividing the total depth of the water (24 inches) by the total number of hours it took the hole to drain two times.Vegetables thrive in soil that is well-drained, which means an average of about one inch of water lost per hour (however compost and organic matter can be added to improve drainage if you are set on a certain spot).
4. Map out the garden.

After you have found the perfect location for your vegetables, you should map out your garden on paper. Planning the garden before you plant will allow you to account for possible mistakes. The most efficient way to do this is to use graph paper and draw out a to-scale sketch of the plot. You should factor in the number of plants you have, the number of rows you need, the types of plants and their growth habits (so you will know how far apart to space the rows), and whether or not a certain vegetable will need support or trellising.
One piece of advice is to plant tall crops like pole beans and corn on the north side of the garden, ensuring that they will not shade your low-growing crops. Also, you may want to consider successive and companion planting techniques.
Successive planting is putting a second vegetable in the same spot as another after the first one has grown. Companion planting is purposefully planting certain vegetables next to one another. For example, planting radishes near squash and cucumbers will help deter insects, while planting basil near tomatoes will impact the tomatoes growth (positively, of course). You can even plant flowers near vegetables to enhance pollination and provide a decoy for harmful insects.
5. Dig the beds.

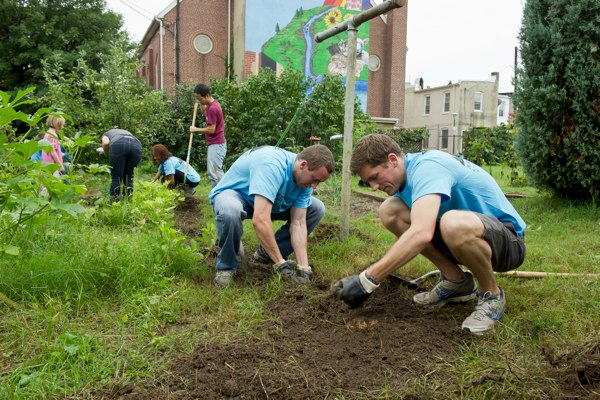
After you have the garden all planned out and ready to go, it’s time to get dirty! It is a good idea to loosen the soil before you start planting. This can be done with a tiller or by hand. Work the soil for a while, adding in nutrients (compost and natural fertilizers) as you go, and when you’re done smooth it over with a rake. Water the area thoroughly and then wait a few days before you plant anything.
Instead of planting straight into the level ground, some people prefer to create raised beds for their vegetables. This is done by piling dirt into mounds and then smoothing out their tops. The beds should rise about eight inches from the pathway and be about three feet wide. Some advantages to raised beds include: saving resources by applying fertilizer directly to the beds instead of a spread out area, reducing the space needed for paths and thus increasing the growing area, and providing an easy and convenient way for planting and cultivating.